How wall thickness and gate effect mold cost

It is critical to prioritize moldability during the design phase in order to reduce injection molding costs. Saving thousands of dollars is possible if moldability is optimized from the beginning.
Wall thickness
One process expert emphasized wall thickness as the most important factor in designing for moldability, followed closely by optimizing ejection.
In terms of wall thickness, Goldilocks's principle applies
Design walls between 0.040 and 0.140 inches thick to avoid too fat or too thin walls.This thickness range is ideal.
The thicker the design, the more likely it will have voids, sink, and shrink, causing the design to warp," The thinner the wall, the higher the risk of hesitation, which leads to cracking, weak knit lines, short shots, and more.
A degree of draft is essential for proper part ejection, so ejector pins and blades pop parts out of molds easily. The material choice determines how much draft is required, as semi-crystalline materials tend to shrink more than amorphous materials. Surface finish and texture are also important factors. The design of undercuts and internal features of a part may require changes for successful ejection.
Take gate vestiges into consideration
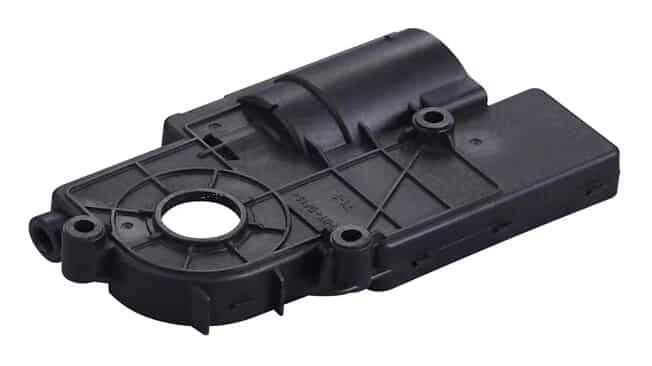
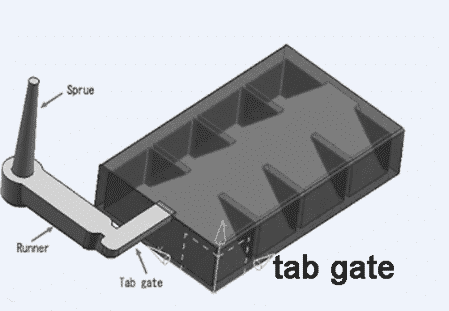
Injection molded parts, as well as parting or shutoff surfaces, have gate vestiges and witness lines. When compared with other options, tab gates can leave a larger vestige, but offer a great deal of flexibility in placement. It's important to select a location where the mark will be less noticeable on cosmetic parts.
Sealing can be affected by these same marks on parting/shutoff surfaces (excess plastic).

The rapid design flexibility of 3D printing makes it possible to evaluate multiple iterations of molds in the prototyping stage before investing in costly molds for high-volume, low-cost production.
Injection molding may not work well with what works well in a 3D-printed part, so keeping the end game in mind is crucial. During the prototyping phase, consider injection molding so you can quickly move from smaller quantities to larger ones without redrawing.
The goal should be to reach the end. In order to save money on your molded part, this cannot be stressed enough. The design limitations of 3D printing are very limited. The best-case scenario involves the manufacturer adding many costly mechanical components to the mold to make a part designed exclusively for 3D printing. If it can't be done, that's the worst case scenario.
Make sure you consider the mold-base size. Part size is not the only factor determining mold base size. It might be necessary to include a side action cam in a mold when adding an undercut to a part. Previously a 4-x-4-inch mold was required for 1-x-1-inch parts, but now a 10-x-10-inch mold is needed, adding thousands in tooling costs.
It is critical to consider internal components. The largest cost driver is internal componentry, not poor design or mold size. When designing a mold, keep in mind that cams and inserts can add $1,000 to $2,000 to the cost.
Comments
Post a Comment